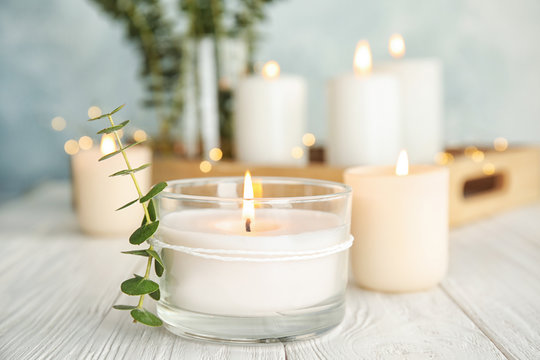
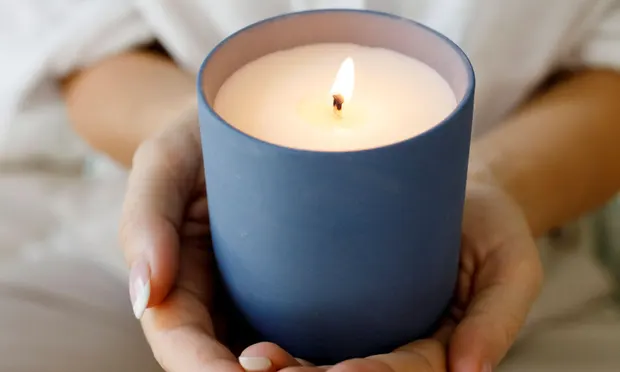
Tips and Tricks for Making a Perfect Candle
The first time you embark on the beautiful journey of candle-making, the whole process comes across as a pretty simple one. After All it’s just wax and a wick, a jar maybe and some color and fragrance.
And then ‘Oh where did I go wrong?’ pops up. More often than not it makes you want to give up, even before you’ve started. Do not fret. This is the story of most aspiring candle makers.
Candle making is an art that can be mastered with dedication and perseverance, a great deal of patience and a never-give-up attitude. The best part is that the candle that may have gone wrong doesn’t need to be thrown away.
It’s heartening to know that the wax can be re-melted and turned into a beautiful creation. The bottom line is, do not get discouraged by the first, second or even the nth unsuccessful or the not so successful attempt and never give up.
Practice and understanding the science of candle making will ensure you are on the way to creating perfect, beautiful candles.
Here are a few tips to help you along the way.
1. Keep a journal, physical or digital, to document your experiences, especially at the start of your journey. It will help you keep track of your progress, what works and what doesn’t work for you.
Take note of the dates (this will help to determine the curing period), type of wax you used, type and percentage of fragrance oils, colors (if you’re using), wick and glass size, the mold you used, and importantly, the temperature of when you added these the colors and fragrance.
2. Understand your wax. Decide on the wax you are going to use. This will depend on personal choice and if you are selling, then on your customers’ requirement and/or budget. Make sure you use the same wax for the entire batch (especially if you are selling).
Talk to your vendor if you need to and explain to them the purpose of buying it and the type of candles you are making. To begin with, buy a small amount and test your candles.
3. Understand the correct temperature. A digital thermometer is something that you must have handy while making your candles. Whether it’s adding fragrances or adding colors, it has to be done at specific temperatures to achieve maximum results from your candles.
Not doing so will result in discoloration of the candle (especially soy wax), burning the fragrance, thus killing the fragrance throw, amongst other things.
4. Know the wick. A wick is crucial to a perfectly burning candle, and understanding the type and size of the wick should be at the top of your priority list, second only to wax.
Most people end up paying the least attention to this most important aspect of a candle and unfortunately end up watching their beautifully made and perfectly scented candle burn too fast, tunnel, or not stay lit at all.
An ideal wick gives a consistent flame, an even melt pool across the diameter of the candle, no soot while burning, long burn time and a small, safe flame. Keeping these factors in mind, selecting the right wick will depend on the type of wax used, diameter of the container and the amount of fragrance and color you are planning to add to the candle.
It is once again a good idea to talk to the supplier to make sure you choose the correct wick. When buying online, make sure to read the specifications mentioned. Whether buying ready wicks or making your own, always ensure your wicks are waxed. Make sure your wick is perfectly centered throughout the length of the candle.
5. Understand the fragrance. Another important component to consider is fragrance. We all love scented candles and apart from a good scent throw we want the fragrance to last long.
There are several types of fragrances available in the market. Make sure the fragrances are specifically meant for candles. If using essential oils, take extra care to choose the right ones, since many essential oils have very low melting points and can burn off in hot wax.
Most fragrances come with printed percentages to be added. Make sure to follow those instructions.
6. Choose the correct colors. It is very important to use the right colors for your candles. If using pigments, make sure they are candle specific. If using liquid colors, make sure they are oil based. Too much color could clog the wick, which is good to keep in mind while adding colors.
7. Adding decorative elements to candles. Do not go overboard with adding elements such as flowers, stones etc. However pretty the candle may look,it could obstruct the wick, preventing the candle from burning as it should or even pose a fire hazard. Minimalistic is beautiful.
8. Poke your candles. However weird this may sound, this is a good practice to remove air pockets and thus avoid under burning. Especially for candles with a wider diameter and deeper height, take a skewer and poke holes before pouring your next layer.
9. Anchor your wicks to the base. Make sure your wick is firmly anchored to the base of the jar, so it does not get pulled out. This can be done by fixing the metal base of the wick with a wick tape or with the help of a hot glue gun.
10. Using a heat gun. There are times when the surface of your candle will come out with bubbles or uneven edges on top. You don’t have to scrape the top or redo the entire thing! Just turn on your heat gun on the lowest setting and heat the top of your candle in circular motions.
Let the heat of your blow dryer melt the top layer of your candle, let it cool, and it will easily smoothen the surface of your candle and it’ll come out as smooth as ice!
Keeping these few things in mind, and persistence and practice is guaranteed to make you an amazing candle maker.

Meenal, based out of Mumbai, India, has a vast experience of making candles. For over 24 years, she has been involved in making various types of candles and has trained thousands of students many of whom are running successful brands.